Installing Go
Even if you’ve never used Go, we’ll explain how things like static typing and methods work along the way.
Go’s official website has downloads for all platforms.
Linux, Mac or Windows
On macOS or Linux you can download the archive and extract it to a fresh /usr/local/go directory, then add /usr/local/go/bin to your PATH.
For example, on Linux you might run:
# replace 1.xx.x with the latest Go version (e.g. 1.24.2 as of writting this guide)
$ wget https://go.dev/dl/go1.xx.x.linux-amd64.tar.gz
$ sudo rm -rf /usr/local/go && sudo tar -C /usr/local -xzf go1.xx.x.linux-amd64.tar.gz
and then add to your shell profile:
export PATH=$PATH:/usr/local/go/bin
Alternatively, you could just simply trust your package manager and do something like brew install go or apt-get install go or something similar like that.
For Windows, download the MSI installer and run it.
Verify
In either case, once installed, open a terminal (or Command Prompt) and verify with:
$ go version
You should see the Go version printed, confirming the installation.
Run a simple PIGO8 example
First create a directory somewhere in your PC, for example:
mkdir helloworld
cd helloworld
touch main.go
Go uses modules to manage dependencies. To initialize the modules mechanism, in your project folder, run:
# usually this is the VCS clone URL, e.g. github.com/you/myapp
go mod init github.com/yourname/helloworld
# Expected Output
drpaneas@m2:~/helloworld% go mod init github.com/drpaneas/helloworld
go: creating new go.mod: module github.com/drpaneas/helloworld
go: to add module requirements and sums:
	go mod tidy
The go mod init command creates a go.mod file that declares your module path (you can use any unique name or repository path).
This file will track any packages your code imports.
As you add imports or libraries, please remember to always run go mod tidy and this will automatically download and record needed versions.
Think of go.mod as similar to package.json in Node or requirements.txt in Python.
A Go module is a collection of related Go packages. The
go.modfile at the root lists the module path and dependency versions. Runninggo mod initfollowed by edits andgo mod tidyis all you need to start.
Okay, now Go is ready to fetch dependencies you import, such as our PIGO8.
Let's write some code.
Copy and paste the following code into a file called main.go:
package main
import p8 "github.com/drpaneas/pigo8"
type myGame struct{}
func (m *myGame) Init() {}
func (m *myGame) Update() {}
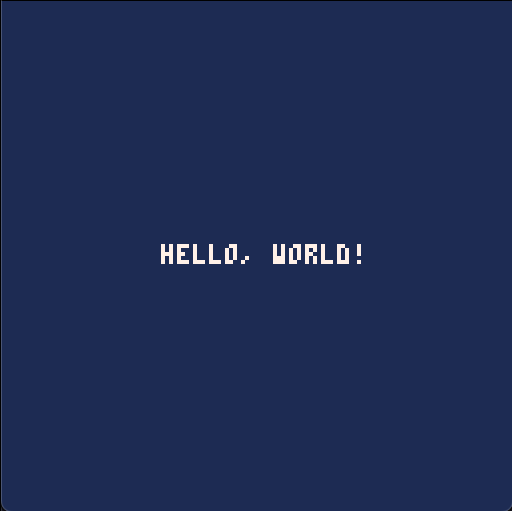
func (m *myGame) Draw() {
p8.Cls(1)
p8.Print("hello, world!", 40, 60)
}
func main() {
p8.InsertGame(&myGame{})
p8.Play()
}
Then pull in dependencies (downloads PIGO8 as it's part of your imports):
$ go mod tidy
# Expected Output:
go: finding module for package github.com/drpaneas/pigo8
go: downloading github.com/drpaneas/pigo8 v0.0.0-20250427151721-a6ef286ed98a
go: found github.com/drpaneas/pigo8 in github.com/drpaneas/pigo8 v0.0.0-20250427151721-a6ef286ed98a
Now use go build when you want a standalone binary, or run go run when you just want to compile-and-execute in one go without keeping the binary around.
go build . && ./helloworld # builds it, you run it manually
# or
go run . # run it without building, more useful while developing
If everything works as expected, you should see:
# Expecte log output
drpaneas@m2:~/helloworld% go run .
2025/04/29 16:25:42 Booting PIGO8 console...
2025/04/29 16:25:42 Cartridge Initializing...
Doesn't work?
If not, this means you are missing something in your system. Most likely this has to do with Ebiten, the engine PIGO8 uses to render graphics on screen. For that, please read Ebiten's installation instructions
Usual issues are missing C compiler.
In this case make sure Mac users have clang which comes after doing xcode-select --install which installs command-line tools.
For Linux users you might be missing some basic drivers, such as:
sudo apt-get update && sudo apt-get install -y libc6-dev libgl1-mesa-dev libxcursor-dev libxi-dev libxinerama-dev libxrandr-dev libxxf86vm-dev libasound2-dev pkg-config
Next
If you've managed to run this simple hello-world style of example, you are ready to start developing with PIGO8!
Have fun!